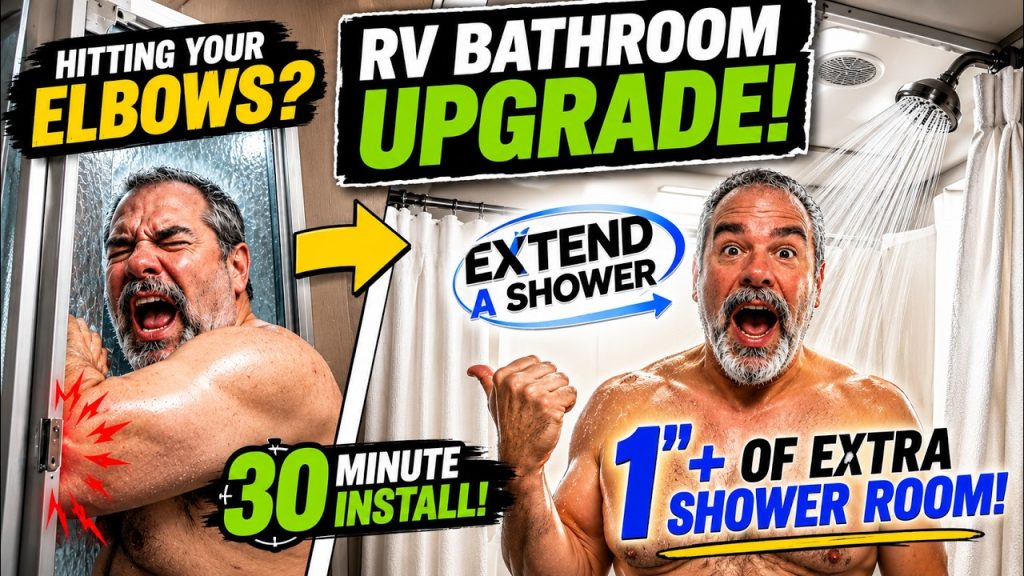
If your RV shower feels too small, the best RV shower upgrade we’ve made is simple. Take out the sliding glass doors and hang a hinged, curved shower rod with a curtain instead. Ours took about 30 minutes and four screws, and it gave us roughly a foot of extra elbow room.
Hey y’all, it’s Jimmy and Lisa. We had a real love-hate relationship with our shower doors. Spoiler: hate won.
Why are RV glass shower doors such a pain?
They look great, but they’re hard to clean, they leak at the corners, and they eat your elbow room. That’s how we see it after living with them.
First, the cleaning. Lisa could keep the glass clean just fine. But where the two doors overlap, her fingers wouldn’t fit in the crack. So there she was, scrubbing with a toothbrush.
Then there’s the space. Jimmy is a little wider than those doors. Every time he washed his hair (what’s left of it), he banged his elbows and shoulders on the glass.
We love the idea of them, because they make the bathroom feel open. But in real life, they just didn’t work for us.
Why did we keep the doors at first?
We kept them because we were scared of water on the floor. Water and RVs just don’t get along.
Our shower isn’t a tub. It only has a very shallow lip. So we worried that kids or guests wouldn’t pay attention with a curtain, and water would end up all over the floor. We all know where that leads.
So Lisa kept a rug and a towel right up against the door. Because, news flash, the doors leak too.
What made us finally rip the shower doors out?
Mold. That’s what ended it.
The doors themselves didn’t leak much. But where the side track and the bottom track met in the corner, they didn’t even touch. There was just a big glob of caulk filling the gap. Water got down under it and into the bottom track.
Lisa bought new caulk and planned to pull the old stuff out and redo it right. Then she started ripping out the old caulk and found mold underneath. At that point, the doors had to go.
So right there in the campground, we took out a couple of screws and the doors went to the dumpster.
What RV shower upgrade did we use?
We used the Extend-A-Shower rod from Stromberg Carlson. We picked ours up at Camping World, since they keep a lot of RV parts in stock.
Here’s how it works. The rod is hinged, a little like an elbow. It mounts to the wall on each side, with a straight rod in the middle. When you’re not using the shower, you push both sides in and the curtain tucks into the shower. Then, when you want to shower, you pull it back out.
That simple move adds about a foot of shoulder room. Now Jimmy can wash his hair without a fight.
How do you install an RV shower upgrade like this?
The install is four screws. Taking the old doors out was actually harder than putting the rod up. Here are the steps we followed:
- Remove the glass doors and their frame. Ours came out with a couple of screws.
- Scrape out the old caulk and clean the area well. Check for mold while you’re there.
- Hold the rod up and mark where it fits your space.
- Screw the mounts to the walls on each side. That’s four screws total.
- Hang your shower curtain and test it in and out.
- Trim the bottom of the curtain if it hangs too low.
One tip from our install: our ceiling is low where it meets the shower, so we had to mount the rod lower than it was designed for. That meant trimming the curtain. Lisa cut the vinyl one with scissors, and she bought a fabric one to cut and hem.
The longest part by far was scraping the old caulk. If you know a good caulk remover that actually works, please tell Lisa in the comments.
Is a curved RV shower rod worth it?
For us, absolutely. It’s the easiest RV shower upgrade we can think of, and it made our tiny shower feel so much bigger.
Here’s what we like most:
- More elbow and shoulder room in a small RV shower
- No more cracks between doors to scrub with a toothbrush
- No hidden tracks where water and mold can sit
- A handy spot to hang wet swimsuits so they drip in the shower, not on the floor
That last one is a bigger deal than it sounds. How many times have the kids come back from the pool and hung wet suits over something that drips on the floor? Or you put them outside on a drying rack, and the wind blows it over into the mud. Not that that’s ever happened to us.
A small RV shower upgrade like this can make a big difference when you live in your RV. It’s the same reason we love our Beddy’s bedding. And while you’re doing projects, our post on maintaining your RV has more ideas for keeping your rig in shape.
Quick answers
How can I make my RV shower bigger? Swap the glass doors for a curved, hinged shower rod and a curtain. Ours gave us about a foot of extra room.
How long does this RV shower upgrade take? About 30 minutes for us. Scraping the old caulk took longer than hanging the rod.
Will a shower curtain leak water onto the RV floor? Keep the curtain hanging inside the shower lip, and lay a rug outside just in case. We were nervous about that too.
Do I need to cut my shower curtain? Maybe. We mounted our rod lower because of a low ceiling, so we trimmed the bottom of the curtain.
Come sit by the fire with the village
We love hearing how other RVers fix the little things. So what’s the best small upgrade you’ve done in your rig? Tell us in the FindUsCamping Villagers group on Facebook or in the comments on YouTube.
And if you’d like to swap upgrade stories in person, come camp with us at a FindUsCamping campout. Our village newsletter will tell you where we’re headed next. Safe travels, y’all.
Village Welcome
Pull Up a Chair by the Fire
Get campout news, RV Crawl invites and Village stories in your inbox. No spam, just friends saving you a seat.